
How to escape, step by step
Ride the elevator down, find the safe room, come up through the service hatch, collect four keys in the restaurant, type the code at the exit panel, then press call. The panel shows the digits your run needs.
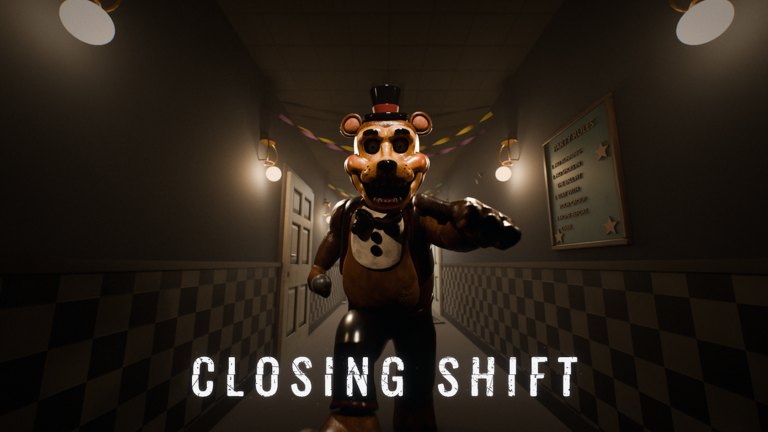
A run has six physical stages. They happen in this order, and the order is not negotiable: the elevator will not come back until the code is in, and the code is not readable until you are at the panel.
The steps below are the route as players describe it, with the parts the official description confirms marked. Where a specific room name or interface label comes from player reports rather than the developer, the line says so and tells you how to check it yourself in ten seconds.
Step 1: ride the elevator down
The doors seal on their own. There is no interact prompt to go back up, which is the game telling you the lift is not the exit. Listen on the way down: the description's headphone recommendation exists because audio carries through the building before you can see anything.
Nothing can reach you during the descent. Use the fifteen seconds to decide who is carrying the light and who is reading the panel.
Step 2: find the safe room
Players report a lower floor — commonly called B-2 — that functions as a staging area: a place to regroup, check who is alive, and come back up into the restaurant deliberately rather than scattered.
Treat the label as a player convention. The check is simple: walk the perimeter of the room you spawn near and look for a second way out that is not the elevator. If there is a hatch or a stairwell, that is the route the run expects you to take.
Step 3: come up through the service hatch
The restaurant floor is reached from below, not from the lift. Player reports name this as the service hatch — a one-player-at-a-time opening, which matters more than it sounds: a hatch is a bottleneck, and a bottleneck is where a group gets separated.
Two rules for hatches that hold in every horror escape map, including this one:
- Go in the order you want to come out. The first player up is the one who has to check the room.
- Never queue at the bottom with something behind you. If the room you left is not clear, the hatch is a trap, not a door.
Step 4: collect four keys
Four keys, four locations. The description confirms the number and the purpose; it does not publish a map, and the spawn points move because the night changes daily. That is why a written list of four fixed coordinates would be wrong by the second night.
What does stay constant is the shape of the search:
| Where to look | Why it is worth the walk | Badge evidence |
|---|---|---|
| Parts and Service | A service room with tools and a mascot inside | Neck Intact, 31,881 awards, awarded for being there when Freddy walks in |
| The kitchen | Named in a badge, has its own exit condition | Five-Star Service, 1,154 awards, for making it out alive |
| The endo room | Locked, needs its own key, has a cabinet at the back | Endo Room, 5,728 awards, for the key, the endoskeletons and the cabinet |
| The arcade | Stated as somewhere you have to sit still | Eyes On The Screen, 4,286 awards, for playing until the one behind you leaves |
The badge table lists every one of the 27 with its award count, so you can see which rooms other players are actually reaching.
Step 5: read the code, then enter it
The exit panel is the only place the digits are guaranteed to be correct for your run. Player reports from 2 November describe an EXIT CONTROL interface with a keypad; a run recorded that day used 7825. That is one night's answer, not a constant — the official description says a different night every day, and the panel is the authority.
Three checks before you type:
- Read all four digits twice. A mistyped code costs the walk back.
- Check the panel before you split up for the last key, not after. Knowing the digits lets one player run for the panel while the others cover.
- If the panel is unreadable from where you stand, get closer. Do not guess.
Step 6: press call, then leave
With the code accepted, the elevator is called. The description's framing is that you call it back — the lift is a thing you summon, not a thing that waits.
The last stage is the one with the lowest badge count relative to effort. Not A Scratch — escaping without dying once — sits at 7,601 awards against 80,777 escapes. Roughly nine in ten successful runs involve at least one death along the way, which tells you the danger is not concentrated at the start.
The six stages as a table
| Stage | Action | Confirmed by | Failure mode |
|---|---|---|---|
| 1 | Ride the elevator down | Official description | None — it is scripted |
| 2 | Find the safe room | Player reports (B-2) | Splitting up before regrouping |
| 3 | Take the service hatch up | Player reports | Queueing with something behind you |
| 4 | Collect four keys | Official description | Searching alone, in the dark |
| 5 | Read and enter the code | Official description + panel | Typing a copied code from an old run |
| 6 | Call the lift and leave | Official description | Dying in the last corridor |
What the numbers say about where runs end
The badge counts are a rough autopsy of 1.34 million first nights. 83.7 percent clock in. 53.5 percent survive the birthday party. 40.4 percent ask the Puppet for help. 11.1 percent talk an animatronic into letting them go. 8.0 percent escape. Between "survived the party" and "escaped" the game loses six out of seven players, and that is the stretch where key collection and code entry happen.
Read it the other way and it is encouraging: the party is survivable by half the people who try it, and the thing that separates them from the escapees is not reflexes, it is having a route.